3D Modeling for High School
I teach a class in 3D Modeling and now that I am halfway into my second year, I think I have finally gotten the hang of the best way to teach this class to high school students. We use Blender, which is a pehnomenal free open-source software for 3D modeling and animation. While there are a ton of great tutorials out there for teaching Blender, they really don't work well for the group that I teach. While many of my students have strong computer skills, I also teach a lot of students that have barely used a computer. Diving into 3D Modeling can be very challenging to them, and if we move to fast, I find that the students just feel lost and get easily discouraged. Taking it a little slower really helps, and once they get the hang of it, they really feel like they have accomplished so much. Since I haven't found much out there geared toward high school, I thought I'd give a quick overview of my first lesson.I start the lesson by giving the students a tour of Blender. We go over how to navigate in the 3D workspace and I encourage them to play around with panning and zooming until they feel comfortable. For some students it really takes awhile to get the hang of how to operate in a 3D workspace.
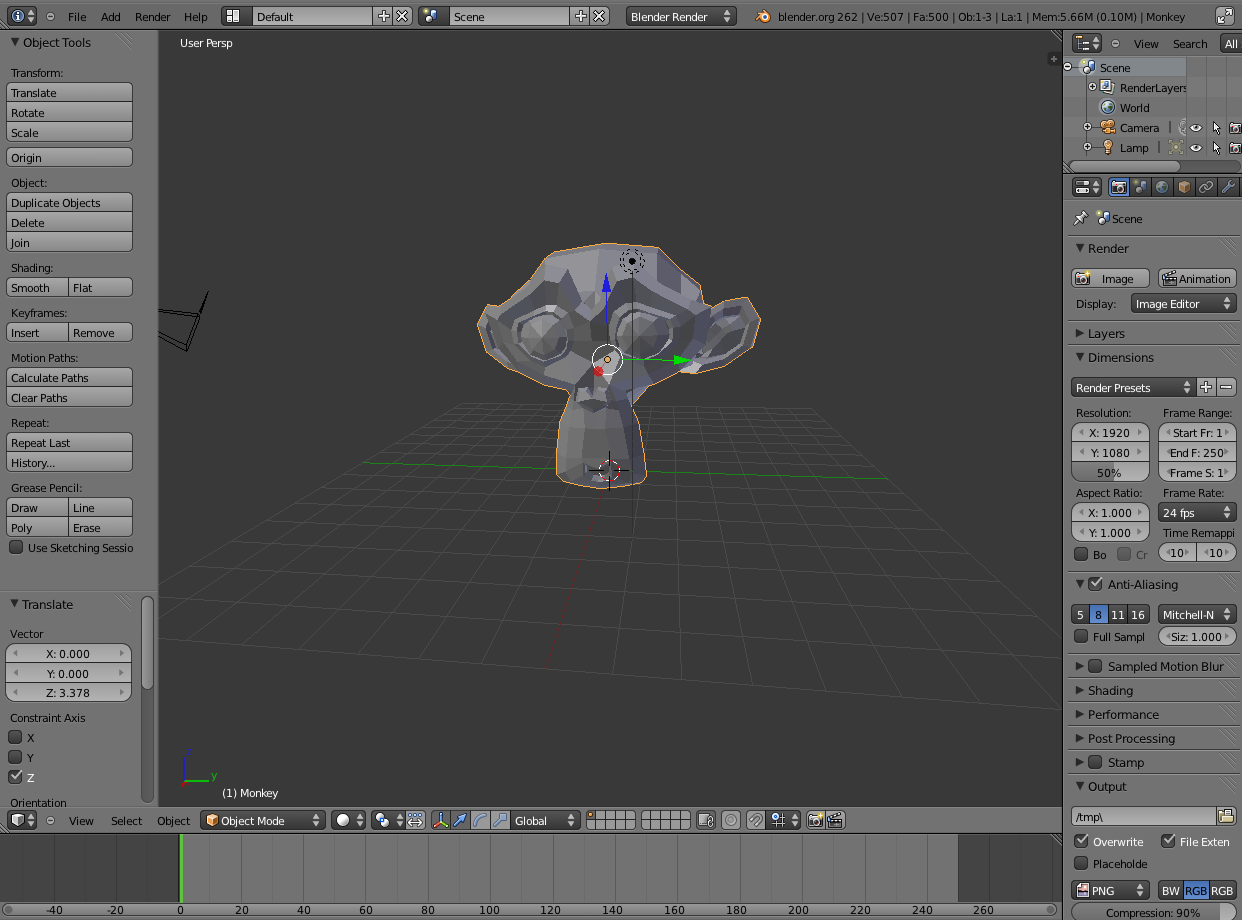
When you open Blender, you are given a cube. The cube is a great tool to work with, but I find the students are much more excited when we work with the monkey. It's built right into Blender-- just click on mesh and then select monkey. Blender calls the monkey Suzanne, but I like to call him Mojo. When I first show the students how to add Mojo, they are so excited. Even though they did not build it, they are so impressed with how it looks, and it gives them a good preview of what is possible with Blender. At this point I show them how to move Mojo around, scale, and rotate.
I also like to switch into wireframe mode and show them the geometry of the mesh. I am hoping to do some future lessons bringing in more Geometry, but I'm still working on my ideas!
Then we start talking about how to add a material (color) to Mojo and he really starts to come to life!
Then we dive in a bit deeper. I use a cone to make a party hat for Mojo. We also add a camera, a light with a color, and a background. At this point, I show the students how to render an image.
For our next lesson, we open up our party monkey Mojo and take it a little further. This lesson demonstrates Blender tools that can be used to enhance a mesh. We use an image map texture to make his party hat look like it's made out of newspaper. We use a fur particle system to made a fun pom-pom for the top of the hat. We use the separate function to break apart the mesh so that we can assign different materials to the eyes, mouth, and inside of ears. We also use the subdivision surface modifier to smooth out the monkey. This creates a totally different look. Some students prefer the first, low-poly style, and others like it more smooth. Which is great. After this, they make their own hat-wearing-Mojo. They are given free reign to do whatever they like to make the monkey look awesome in their own particular style.
Blender is a super fun project, and students love it, but I've found it really does benefit those at the high school level to take it slow so they don't get too overwhelmed by all of Blender's features.


 Welcome! My name is Wendy, and I am teacher of Digital Arts and Art History. I am also an artist, seamstress, and Mom. I would love to share with you what is inspiring me, and what is happening in my classroom!


Interesting article , I am going to spend more time reading about this subject 3D modeling
ReplyDeleteNice post. I learn something more challenging on different blogs everyday. It will always be stimulating to read content from other writers and practice a little something from their store. I’d prefer to use some with the content on my blog whether you don’t mind. Natually I’ll give you a link on your web blog. Thanks for sharing. FCPX
ReplyDeleteCurious if this class counts as an art credit for high school. I homeschool and my 9th grader has been learning to do 3D modeling and animation in Blender. I'm trying to decide how to categorize the work he's doing.
ReplyDelete