Showing posts with label 3D Modeling. Show all posts

Wearable Art: 3D Printing + Embroidery


When I first started working on my own 3D printing projects, I kept coming back to the idea of combining 3D printing with embroidery.  I have always loved handwork as well as the combination of traditional handcrafts with modern technology.  In that vein, I have begun developing my own jewelry pieces that incorporate embroidery, but it would also make for a great art lesson to teach beginning students about 3D printing and design.

This project can be designed quite simply in TinkerCad.


If your students have never used TinkerCad before, you will want to start by giving them a tour of the program and demonstrating how to combine shapes as well as how to use the hole feature to cut holes in their design.  Cutting holes will be necessary to later embroider the printed design.


I also use this time to show students examples of embroidery in art.  Here are some great examples to inspire them:


We also talk about wearable art and considerations when designing a piece of art that is made to be worn.  Once students have been introduced to the project, I give them time to sketch out their ideas.  If you have enough time, it would be a great idea to hold an idea critique at this time, so they can present their ideas to their classmates for feedback before jumping into the design process.

Once students have their ideas and sketches, you can let them loose in TinkerCad to begin their designs. Students will need to think about scale of their overall designs as well as the size and placement of the holes.  

Once they are finished, the models can be printed, and then students can begin work on embroidering their designs.  If you have never done handwork in your classroom, it may be helpful to give students a quick tutorial on embroidery.  You may also want to provide students with some basic jewelry findings so they can finish off their designs and turn them into wearable jewelry.


You can take this project in so many directions!   The finished pieces can be displayed in a student art show, modeled in a fashion show, or even sold at a school event as a fundraiser.  This could also be combined with a marketing or entrepreneurship class, giving students the added challenge of pricing and marketing the designs.


Handouts for Robot Lesson

When I teach the 3D Printing robots lesson to elementary age students, I start with a discussion about geometric shapes and provide them with a booklet that guides them through the unit.  The start by identifying common shapes and we talk about the difference between 2D and 3D.  They then begin to envision how they would construct their robot using geometric shapes.  We spend a lot of time looking at related works of art and talking about creative ways to use the shapes.  We also look at some animation for ideas and inspiration.


Finally, when students have finished designing their robots, they are invited to write an imaginative story about their robot creation.


If you are interested in doing a similar project with your students, I am sharing my file for the booklet:  click here to download.

Inspiration for Building Creative Robots

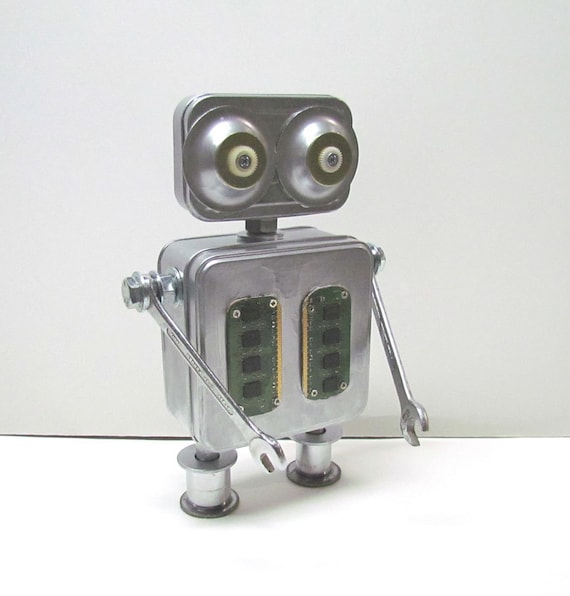
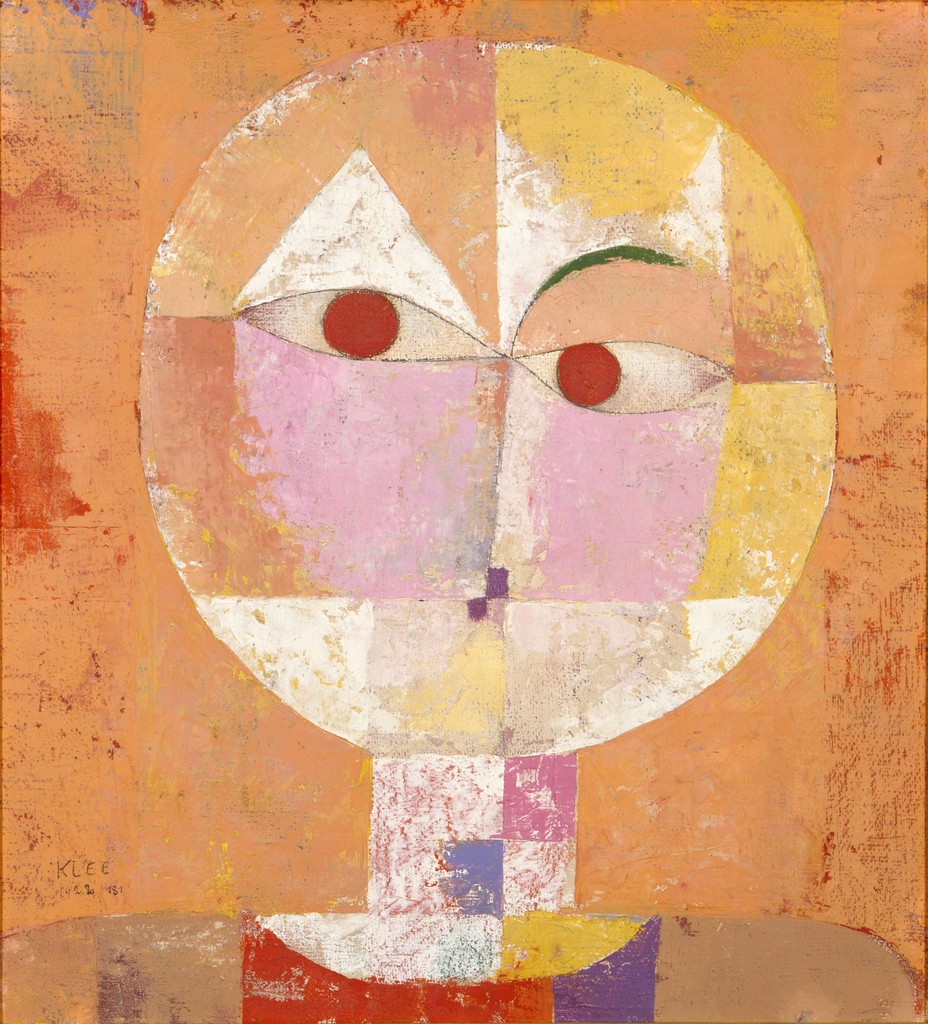
When I present the Geometry Robots lesson to my students, I start off by encouraging them to think creatively about the type of robot they want to create.  What will its character be like?  What is its personality?  And, most importantly, how will you convey that personality?  On that thread, we take some time to look at expressions in works of art and animation, including, but not limited to robots.  Here are just a few of the images I share with my students as I ask them to think about how they will use shapes to create facial expressions and personality in their projects.


Teaching 3D Modeling -- Software options


Student project designed in TinkerCad

Before I get started talking about the different projects I have designed for my Art classes, I wanted to talk a little bit about the programs I use, and go over how to select a program to teach 3D Modeling.  If you've never done 3D modeling before, it can be a little daunting, so I would recommend taking a course or at least playing around with it yourself before jumping in.  I think a lot teachers are hesitant to teach 3D modeling because it might not be something they ever learned, but with a little practice, you can learn enough to get your students started.


Made by the AutoDesk famiy of software, TinkerCad is an awesome place to get started with 3D modeling.  It's web-based and free, so it fits easily within any budget.  It's simple enough to be used by elementary age students, but offers enough variety and advanced features that it won't bore your more technically advanced students.


I'm hoping to put together some video tutorials and/or a downloadable guide book on how to get started teaching TinkerCad.  If this is something you would like to see, please let me know.

For elementary students, I've used the basic geometric shapes that are built into TinkerCad as the basis for the Geometry Robots unit.

Sculptris is the program I've used with my intermediate students.  So far, I've stuck with TinkerCad for elementary and middle grades, and only taught Sculptris to my high school students.  It's a great a program, but a bit buggy at times, so it demands a good deal of patience.  However, it's a great program for being able to sculpt in 3D.


This program was used with good success with my Art History students in the Mini Museum project.

Last, Blender is the program that I used with my advanced 3D Modeling students. It's another open-source program and it's really wonderful.  I start out the semester showing my students a demo reel of professional models and animations made with Blender so that they are aware that they are using a professional-level software.  It's fantastic, but definitely a lot more difficult than TinkerCad.  If you are new to teaching 3D modeling, you probably don't want to start with Blender, but there are a lot of tutorials and courses you can take if you want to learn it.  For students that have the skill set and maturity to learn Blender, it offers them a great deal more control over their final creations.

Some of my students used Blender for the jewelry design project and the Art History Mini Museum with great success. 

Those are just a few of a whole host of programs out there for 3D modeling.  What software do you use to teach 3D modeling?


3D Modeling - Mojo Jojo

I teach a semester-long 3D Modeling course to my advanced high school students.  For their project, they are asked to make a hat for a monkey.  There is a monkey mesh built-in to Blender, so it's a great place to start.  All they have to do is add the monkey to their workspace, and then use shapes to construct a hat for the monkey.  It's a great way to get them comfortable with the 3D workspace and it teaches them how to move, rotate, and resize their meshes.

For more advanced students, I show them how to add materials and textures and invite them to put their own spin on the project.  Recently, a student turned in a monkey that she had made into Mojo Jojo from Powerpuff girls.  I think this is my favorite monkey project yet!  Instead of making a hat, she made a Mojo Jojo mask for her monkey.  I love it so much!


3D Printing in the Art Room

I was lucky enough to win a 3D printing competition, sponsored by MakerBot and Thingiverse, for my school.  This was a huge deal, because one of my goals for our arts program was to get a 3D printer, but it was not within the school's budget.  Over the next few posts, I am going to share with you the various ways that I have been able to incorporate 3D printing into our Art program.

Our MakerBot in action
3D printing is an amazing technology, and it teaches so much to the students!  It teaches them to be thinkers and designers, and there is a great deal of problem-solving and revision that goes into play.  I know some schools use 3D printers are part of their technology department, but I think that it is a fantastic tool to be used in the art room as part of an integrated arts curriculum.   Over the next few posts, I will show the different projects I designed, specifically:

  • --Geometry Robots with TinkerCad (K-5)
  • --Figurine Design with TinkerCad (6-8)
  • --Jewelry Design with TinkerCad (9-12)
  • --3D Modeling with Blender (9-12)
  • --3D Printing "Mini Museum" for Art History (9-12)
Student projects on display at the Georgia Educational Technology Conference
I will continue to update the blog with student projects as we complete them.  Feel free to contact me with questions!  I would also love to hear how you incorporate 3D printing into your arts curriculum.


3D Modeling with 5th Graders: Geometry Robots


I worked with teachers at a local elementary school to help implement 3D printing into their Art curriculum.  We worked with four 5th grade classes on this "Geometry Robots" project.  The Art teacher introduced the project in Art class and students sketched plans for constructing a robot out of geometric shapes.  Students were tasked to think about the logistics of construction in 3D.

I then visited the students in their Technology class and taught them how to use the program TinkerCad.  Using their sketches as a guide, they build their robots from geometric shapes and other components.  Students learned how to move, rotate, resize, and combine their shapes.  They were encouraged to use the shapes creatively in their designs.  Students worked on these projects over two class periods in the computer lab.

Once student projects were complete, I worked with the teachers to show them how to print the files on their 3D printer.  However, this project could easily be implement in a school that does not have a 3D printer by simply skipping this step. The teacher can even take screen shots of all the students designs and print them as photos for display in the school.

For the culmination of this project, the Art teacher worked with the students to construct recycled material sculptures based on their robots.  Students can compare and contrast the initial sketch, 3D print, and sculpture.


...

3D Modeling - Monkey Project


In the beginning of my 3D Modeling class, students use Blender to make monkeys. For their project, they are asked to make a hat for a monkey.  There is a monkey mesh built-in to Blender, so it's a great place to start.  All they have to do is add the monkey to their work space, and then use shapes to construct a hat for the monkey.  It's a great way to get them comfortable with the 3D work space and it teaches them how to move, rotate, and resize their meshes.

For more advanced students, I show them how to add materials and textures and invite them to put their own spin on the project.  It's a great place to start because it's very scale-able to individual student abilities.  I have some students that do not have a great handle on the technology, and so they will really struggle with just the basic task of making the hat.  For students with prior experience working in 3D, I show them how to break apart their mesh so that they can apply different materials and textures to the parts.  With the standard monkey mesh in Blender, if you apply a texture to the monkey, it will apply it to the entire shape because it is one solid shape.  Students can learn how to use the separate command to break their monkey apart so that they can give different colors to the eyes, nose, etc.  The above image shows an example of this.

Later, students will work to create a body for their monkey head.

Below are some examples from this project.


...

3D Modeling for High School

I teach a class in 3D Modeling and now that I am halfway into my second year, I think I have finally gotten the hang of the best way to teach this class to high school students.  We use Blender, which is a pehnomenal free open-source software for 3D modeling and animation.  While there are a ton of great tutorials out there for teaching Blender, they really don't work well for the group that I teach.  While many of my students have strong computer skills, I also teach a lot of students that have barely used a computer.  Diving into 3D Modeling can be very challenging to them, and if we move to fast, I find that the students just feel lost and get easily discouraged.  Taking it a little slower really helps, and once they get the hang of it, they really feel like they have accomplished so much. Since I haven't found much out there geared toward high school, I thought I'd give a quick overview of my first lesson.


I start the lesson by giving the students a tour of Blender.  We go over how to navigate in the 3D workspace and I encourage them to play around with panning and zooming until they feel comfortable.  For some students it really takes awhile to get the hang of how to operate in a 3D workspace.


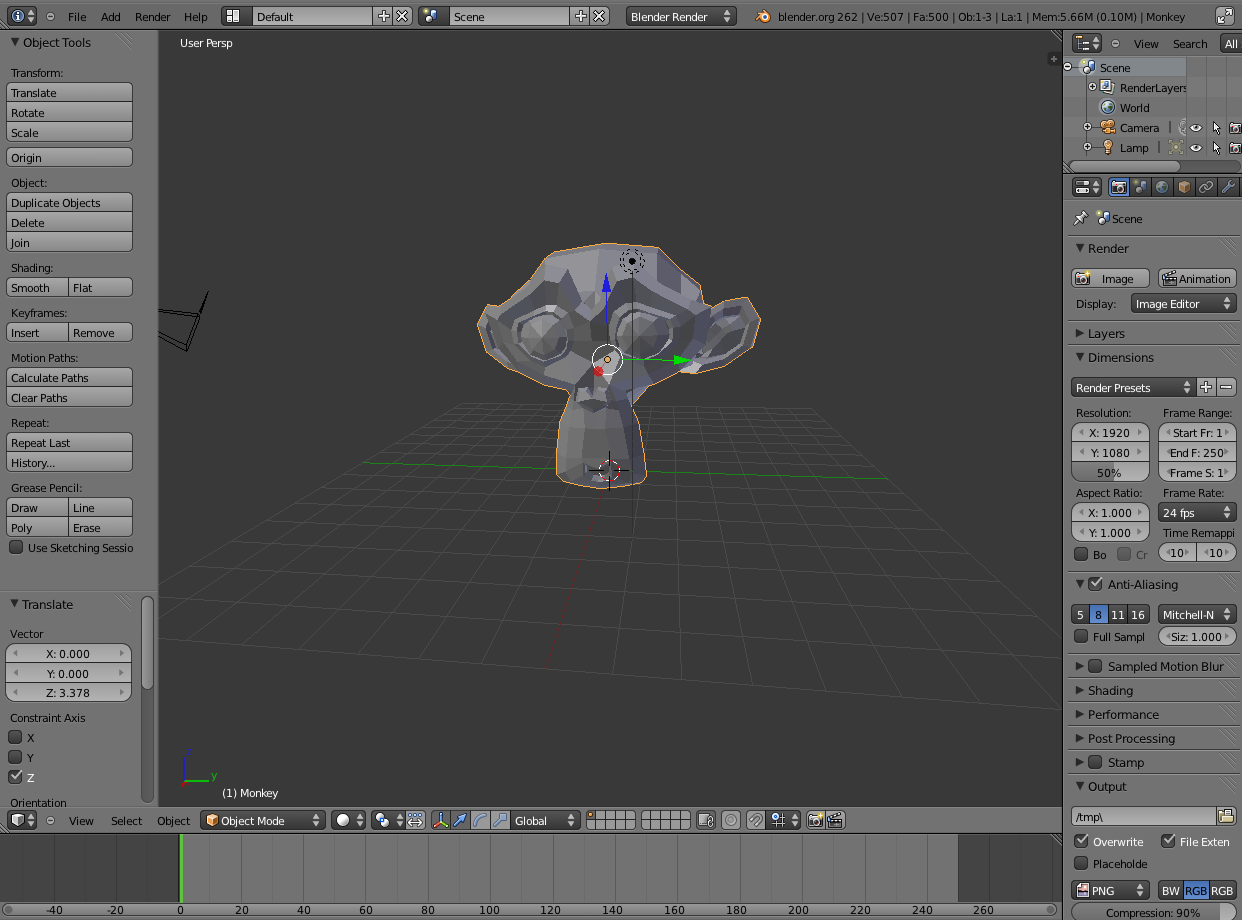
When you open Blender, you are given a cube.  The cube is a great tool to work with, but I find the students are much more excited when we work with the monkey.  It's built right into Blender-- just click on mesh and then select monkey.  Blender calls the monkey Suzanne, but I like to call him Mojo.  When I first show the students how to add Mojo, they are so excited.  Even though they did not build it, they are so impressed with how it looks, and it gives them a good preview of what is possible with Blender.  At this point I show them how to move Mojo around, scale, and rotate.


I also like to switch into wireframe mode and show them the geometry of the mesh.  I am hoping to do some future lessons bringing in more Geometry, but I'm still working on my ideas!


Then we start talking about how to add a material (color) to Mojo and he really starts to come to life!


Then we dive in a bit deeper.  I use a cone to make a party hat for Mojo.  We also add a camera, a light with a color, and a background.  At this point, I show the students how to render an image.


For our next lesson, we open up our party monkey Mojo and take it a little further.  This lesson demonstrates Blender tools that can be used to enhance a mesh.  We use an image map texture to make his party hat look like it's made out of newspaper.  We use a fur particle system to made a fun pom-pom for the top of the hat.  We use the separate function to break apart the mesh so that we can assign different materials to the eyes, mouth, and inside of ears.  We also use the subdivision surface modifier to smooth out the monkey.  This creates a totally different look.  Some students prefer the first, low-poly style, and others like it more smooth.  Which is great.  After this, they make their own hat-wearing-Mojo.  They are given free reign to do whatever they like to make the monkey look awesome in their own particular style.

Blender is a super fun project, and students love it, but I've found it really does benefit those at the high school level to take it slow so they don't get too overwhelmed by all of Blender's features.