When I teach the 3D Printing robots lesson to elementary age students, I start with a discussion about geometric shapes and provide them with a booklet that guides them through the unit. The start by identifying common shapes and we talk about the difference between 2D and 3D. They then begin to envision how they would construct their robot using geometric shapes. We spend a lot of time looking at related works of art and talking about creative ways to use the shapes. We also look at some animation for ideas and inspiration.
Finally, when students have finished designing their robots, they are invited to write an imaginative story about their robot creation.
If you are interested in doing a similar project with your students, I am sharing my file for the booklet: click here to download.
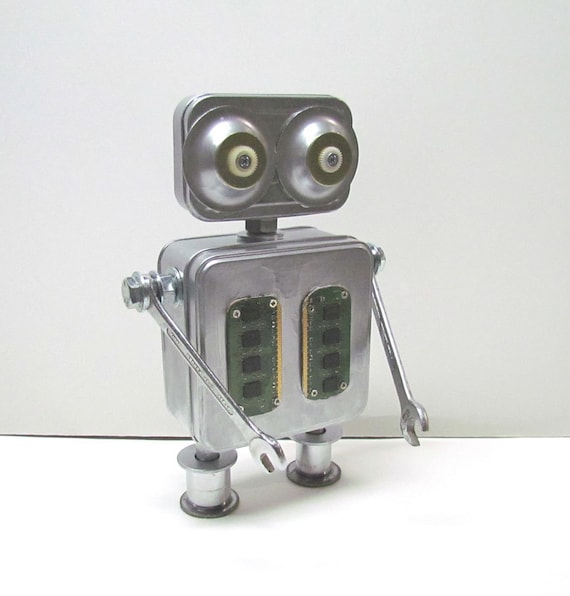
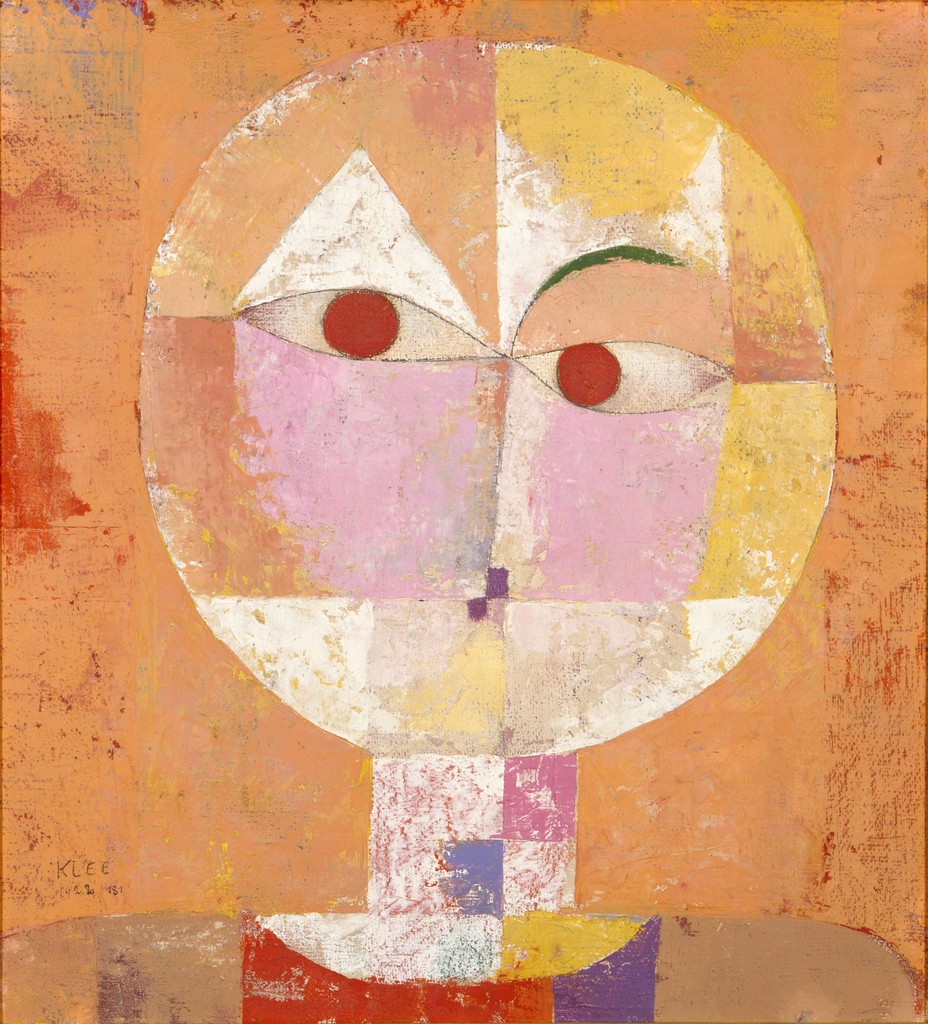
When I present the Geometry Robots lesson to my students, I start off by encouraging them to think creatively about the type of robot they want to create. What will its character be like? What is its personality? And, most importantly, how will you convey that personality? On that thread, we take some time to look at expressions in works of art and animation, including, but not limited to robots. Here are just a few of the images I share with my students as I ask them to think about how they will use shapes to create facial expressions and personality in their projects.
I worked with teachers at a local elementary school to help implement
3D printing into their Art curriculum. We worked with four 5th grade
classes on this "Geometry Robots" project. The Art teacher introduced
the project in Art class and students sketched plans for constructing a
robot out of geometric shapes. Students were tasked to think about the
logistics of construction in 3D.
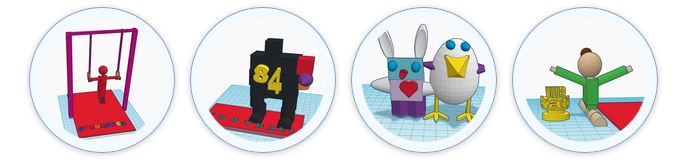
I then visited the
students in their Technology class and taught them how to use the
program TinkerCad. Using their sketches as a guide, they build their
robots from geometric shapes and other components. Students learned how
to move, rotate, resize, and combine their shapes. They were
encouraged to use the shapes creatively in their designs. Students
worked on these projects over two class periods in the computer lab.
Once
student projects were complete, I worked with the teachers to show them
how to print the files on their 3D printer. However, this project
could easily be implement in a school that does not have a 3D printer by
simply skipping this step. The teacher can even take screen shots of
all the students designs and print them as photos for display in the
school.
For the culmination of this project, the Art
teacher worked with the students to construct recycled material
sculptures based on their robots. Students can compare and contrast the
initial sketch, 3D print, and sculpture.
Welcome! My name is Wendy, and I am teacher of Digital Arts and Art History. I am also an artist, seamstress, and Mom. I would love to share with you what is inspiring me, and what is happening in my classroom!


 Welcome! My name is Wendy, and I am teacher of Digital Arts and Art History. I am also an artist, seamstress, and Mom. I would love to share with you what is inspiring me, and what is happening in my classroom!


